Target business contacts on Facebook using Metadata's business email to personal contact matching capabilities.
Adding Meta Permissions is best organized in three parts:
Add Metadata as a Partner on your business account
Ad Account & Page Account Permissions
1. Log in to your Meta business manager account.
2. Navigate to the business partner area - https://business.facebook.com/latest/settings/partners
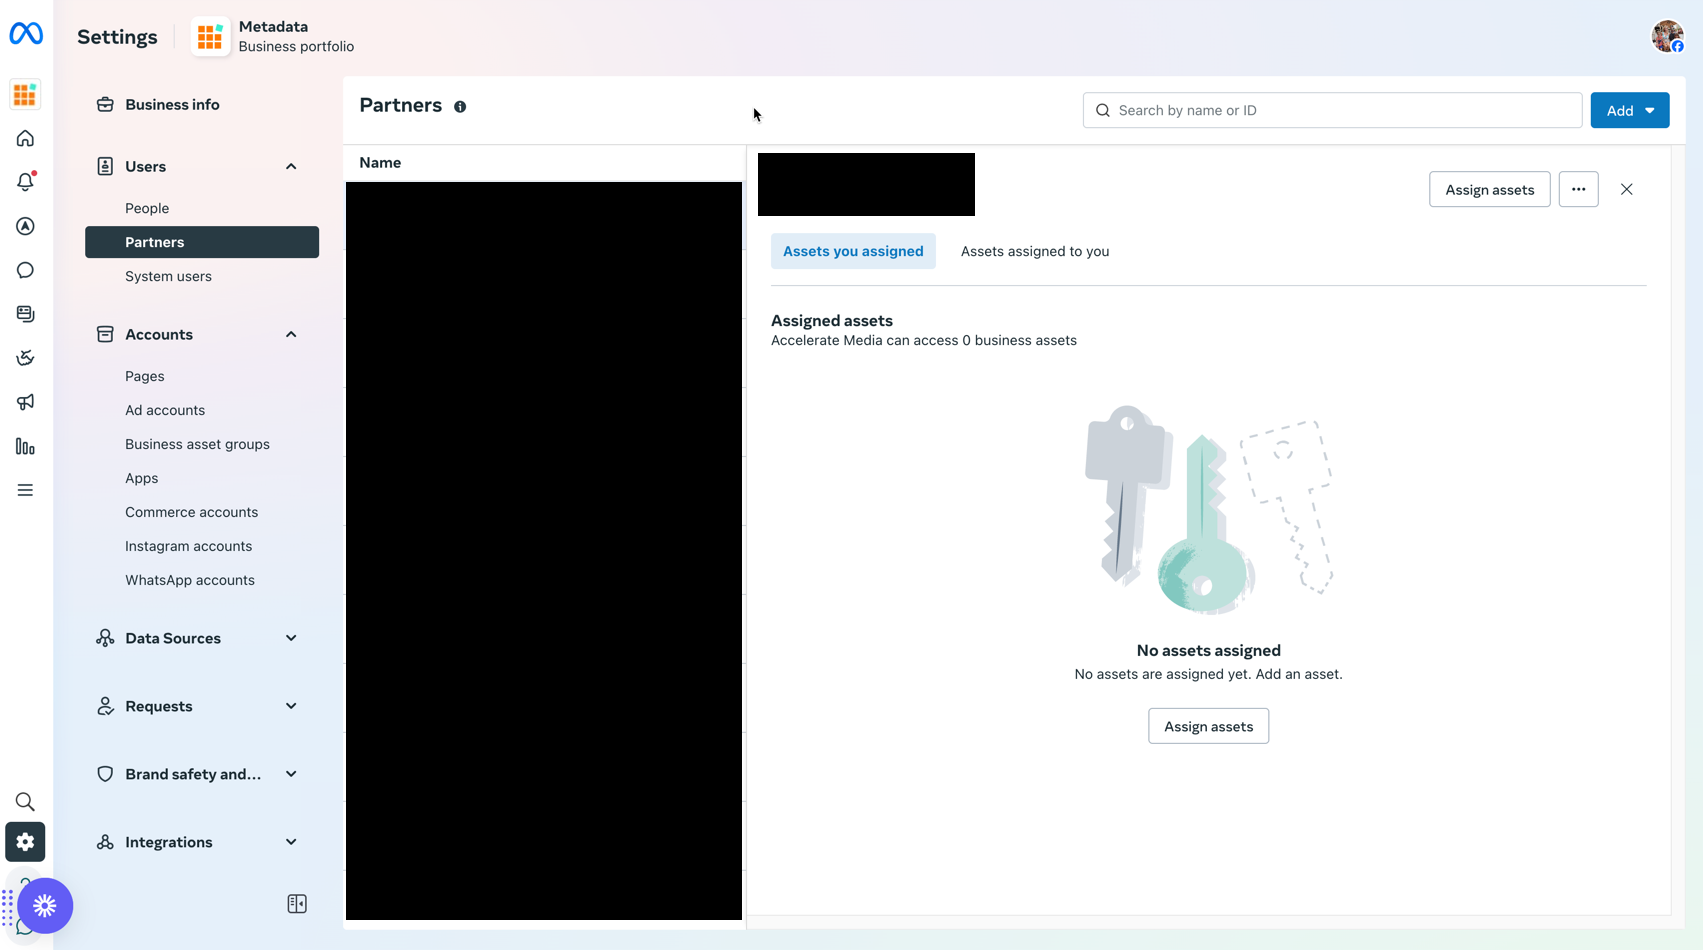
3. Ensure your business account is selected
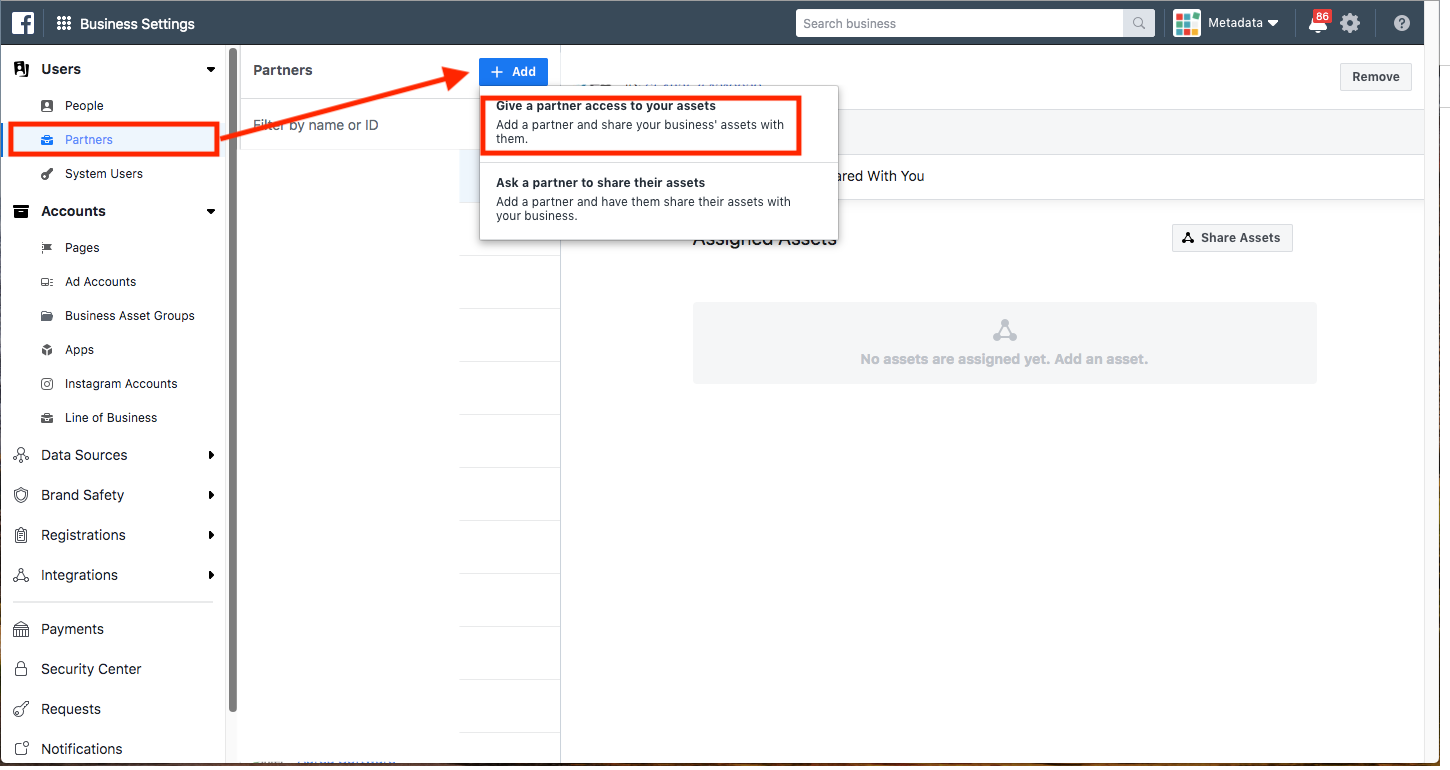
4. Click the + Add button & choose Give a partner access to your assets option.
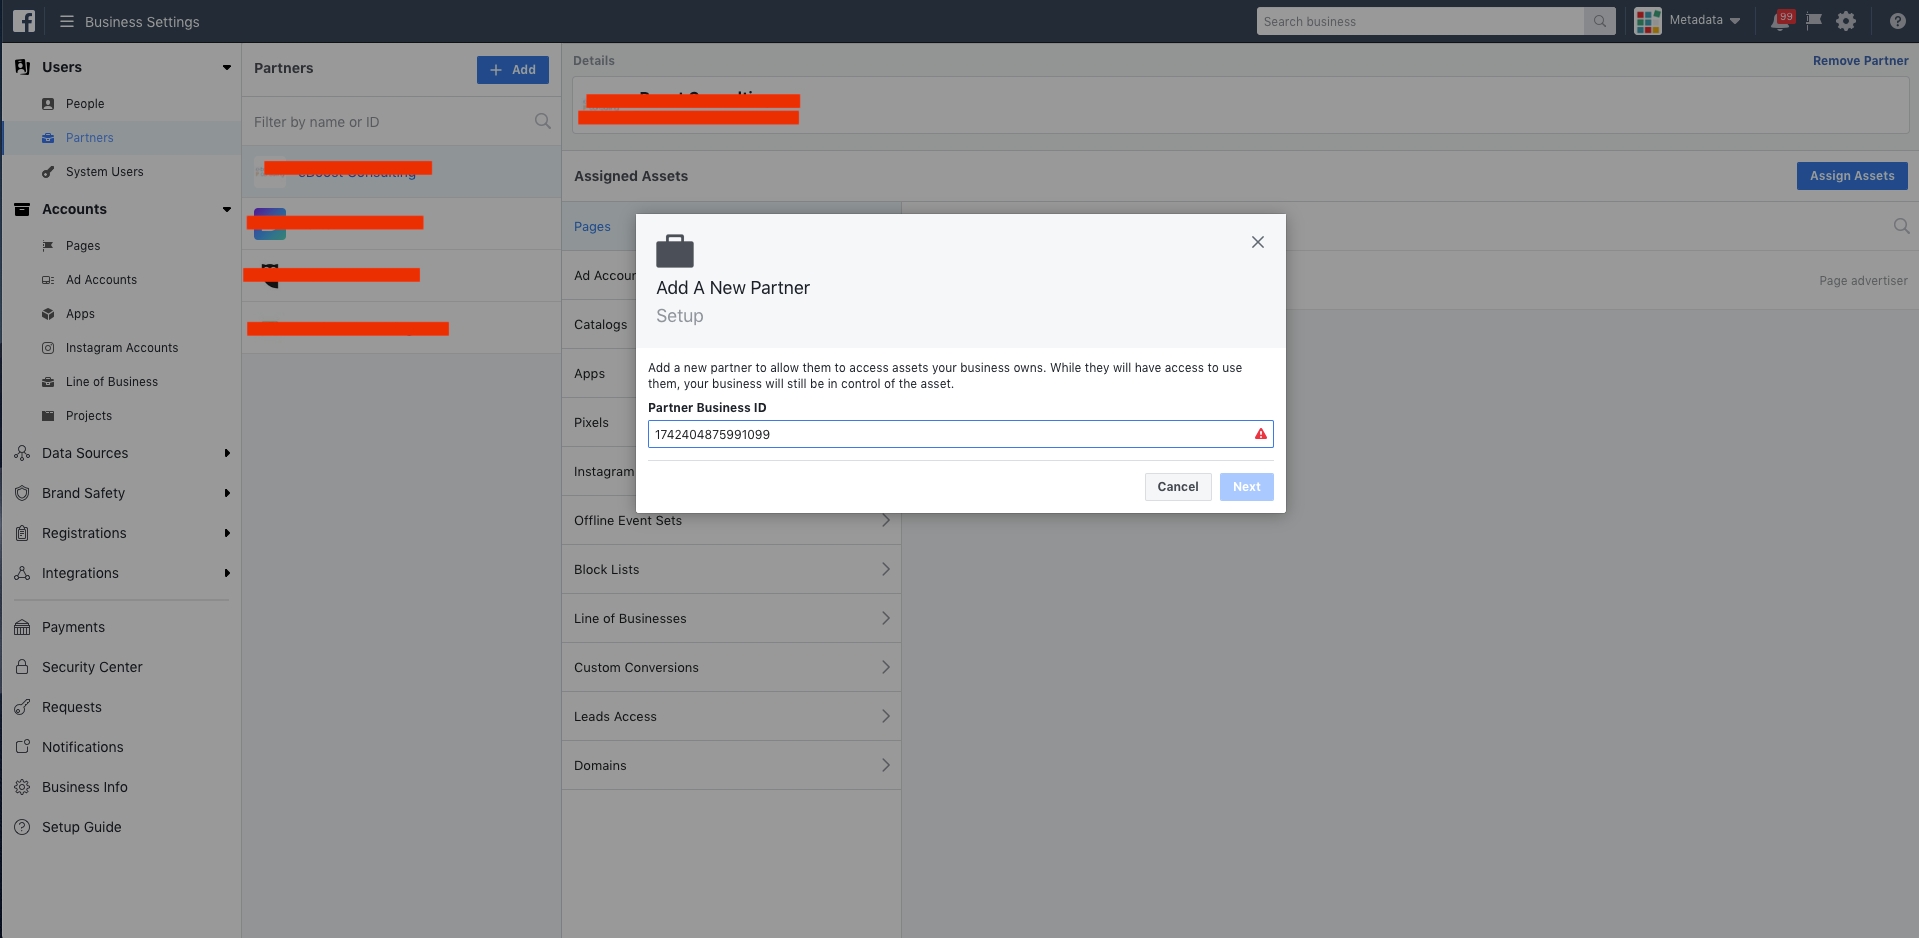
6. Enter Metadata's Business Partner ID: 1742404875991099
7. Select Account Admin as the assigned role.
8. The Metadata account should now appear under Partners. Click on Metadata Account.
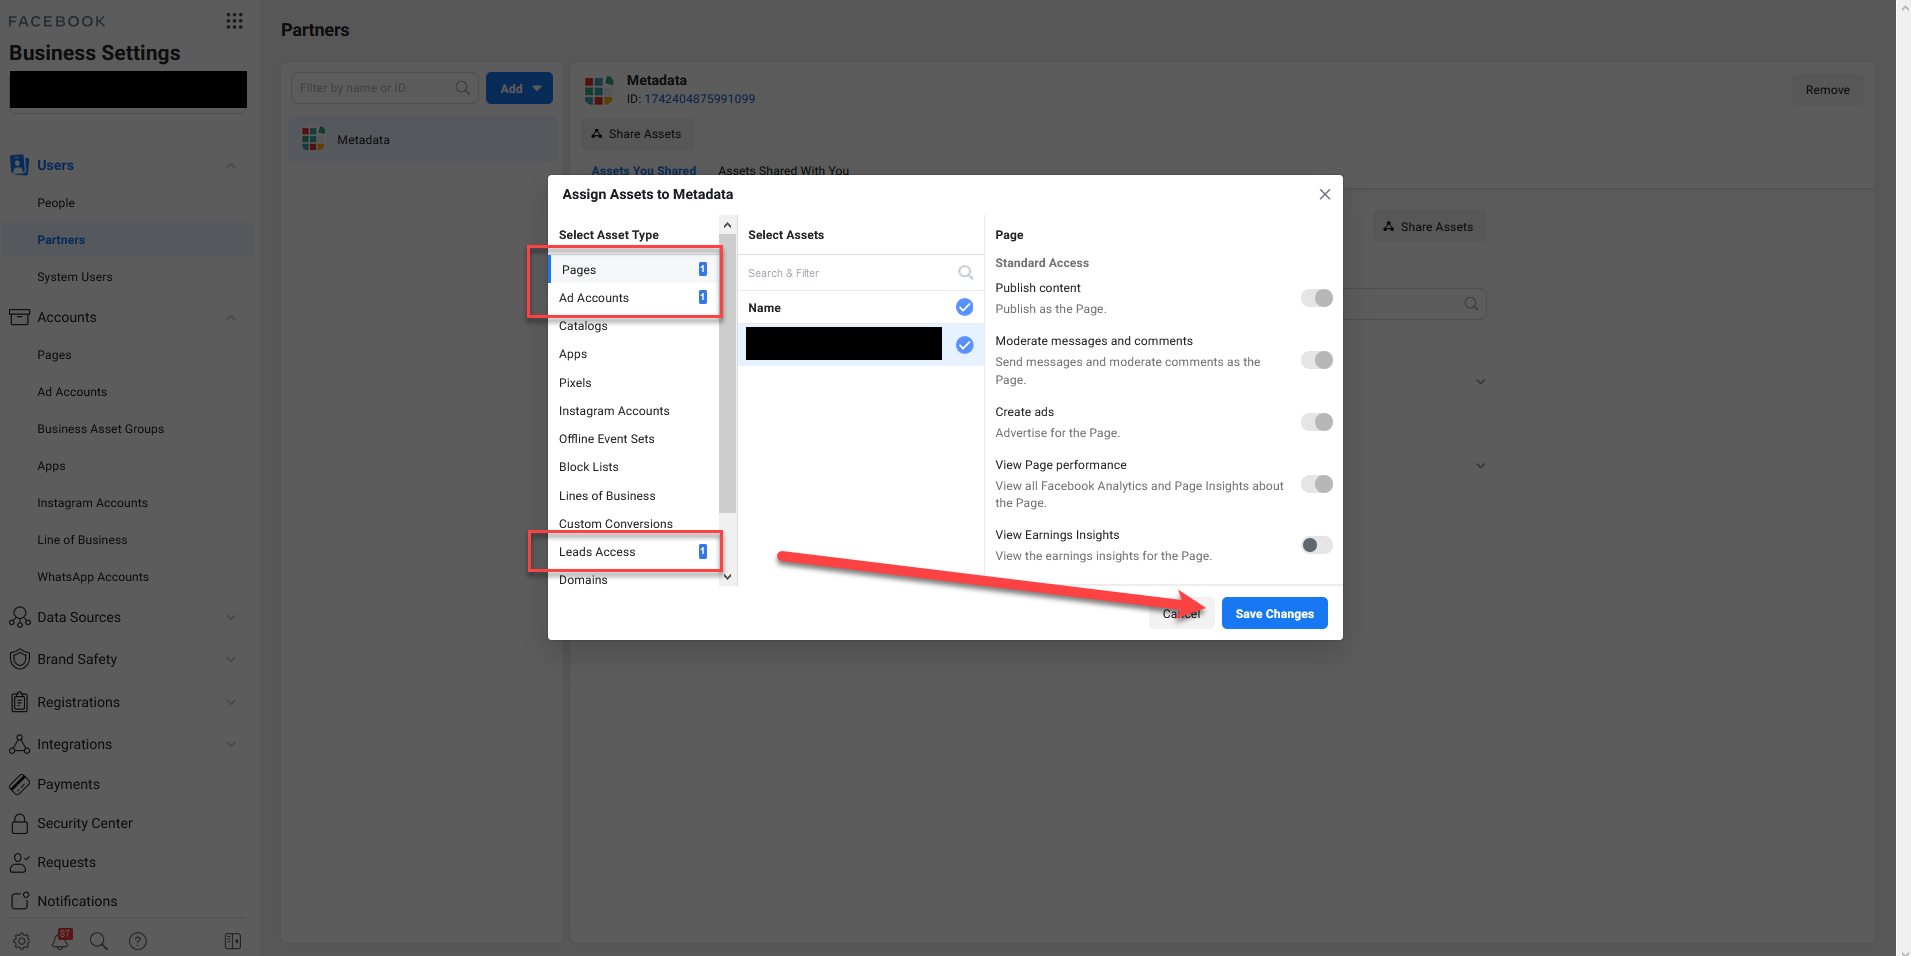
9. Click Assign Assets.

10. Assign Metadata as Page Admin & Ad Account Admin & Pixels Admin (for all pixels) & Instagram Accounts Content Access & Leads Access.
Note: If the Lead Access asset is not available by default any page admins will be given access to download leads. If you would like to customize lead access please follow these steps: https://www.facebook.com/business/help/1440176552713521?id=735435806665862
Verify your business
Verify your business verification status is verified here

Verify you are able to create Contact List Audiences on Facebook here
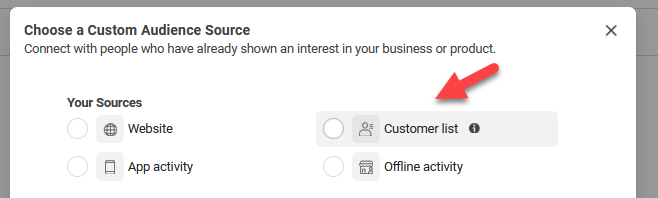
In order to create Contact List Audiences you need to have at least 1 running Campaign in your Ad Account and your business verification status needs to be verified.